Brighten Your Studio With A Colorful DIY Rainbow Photo Backdrop!

All summer long, we’re bursting with inspiration from all things color! For starters, if you haven’t seen it yet, we recently launched a new FREE colorful inspiration guide: Inspired by Color! It’s chock full of all the people, places, things and sites that inspire us on the daily, and you can download yours for free simply by joining our Confetti Circle (which is also free)!

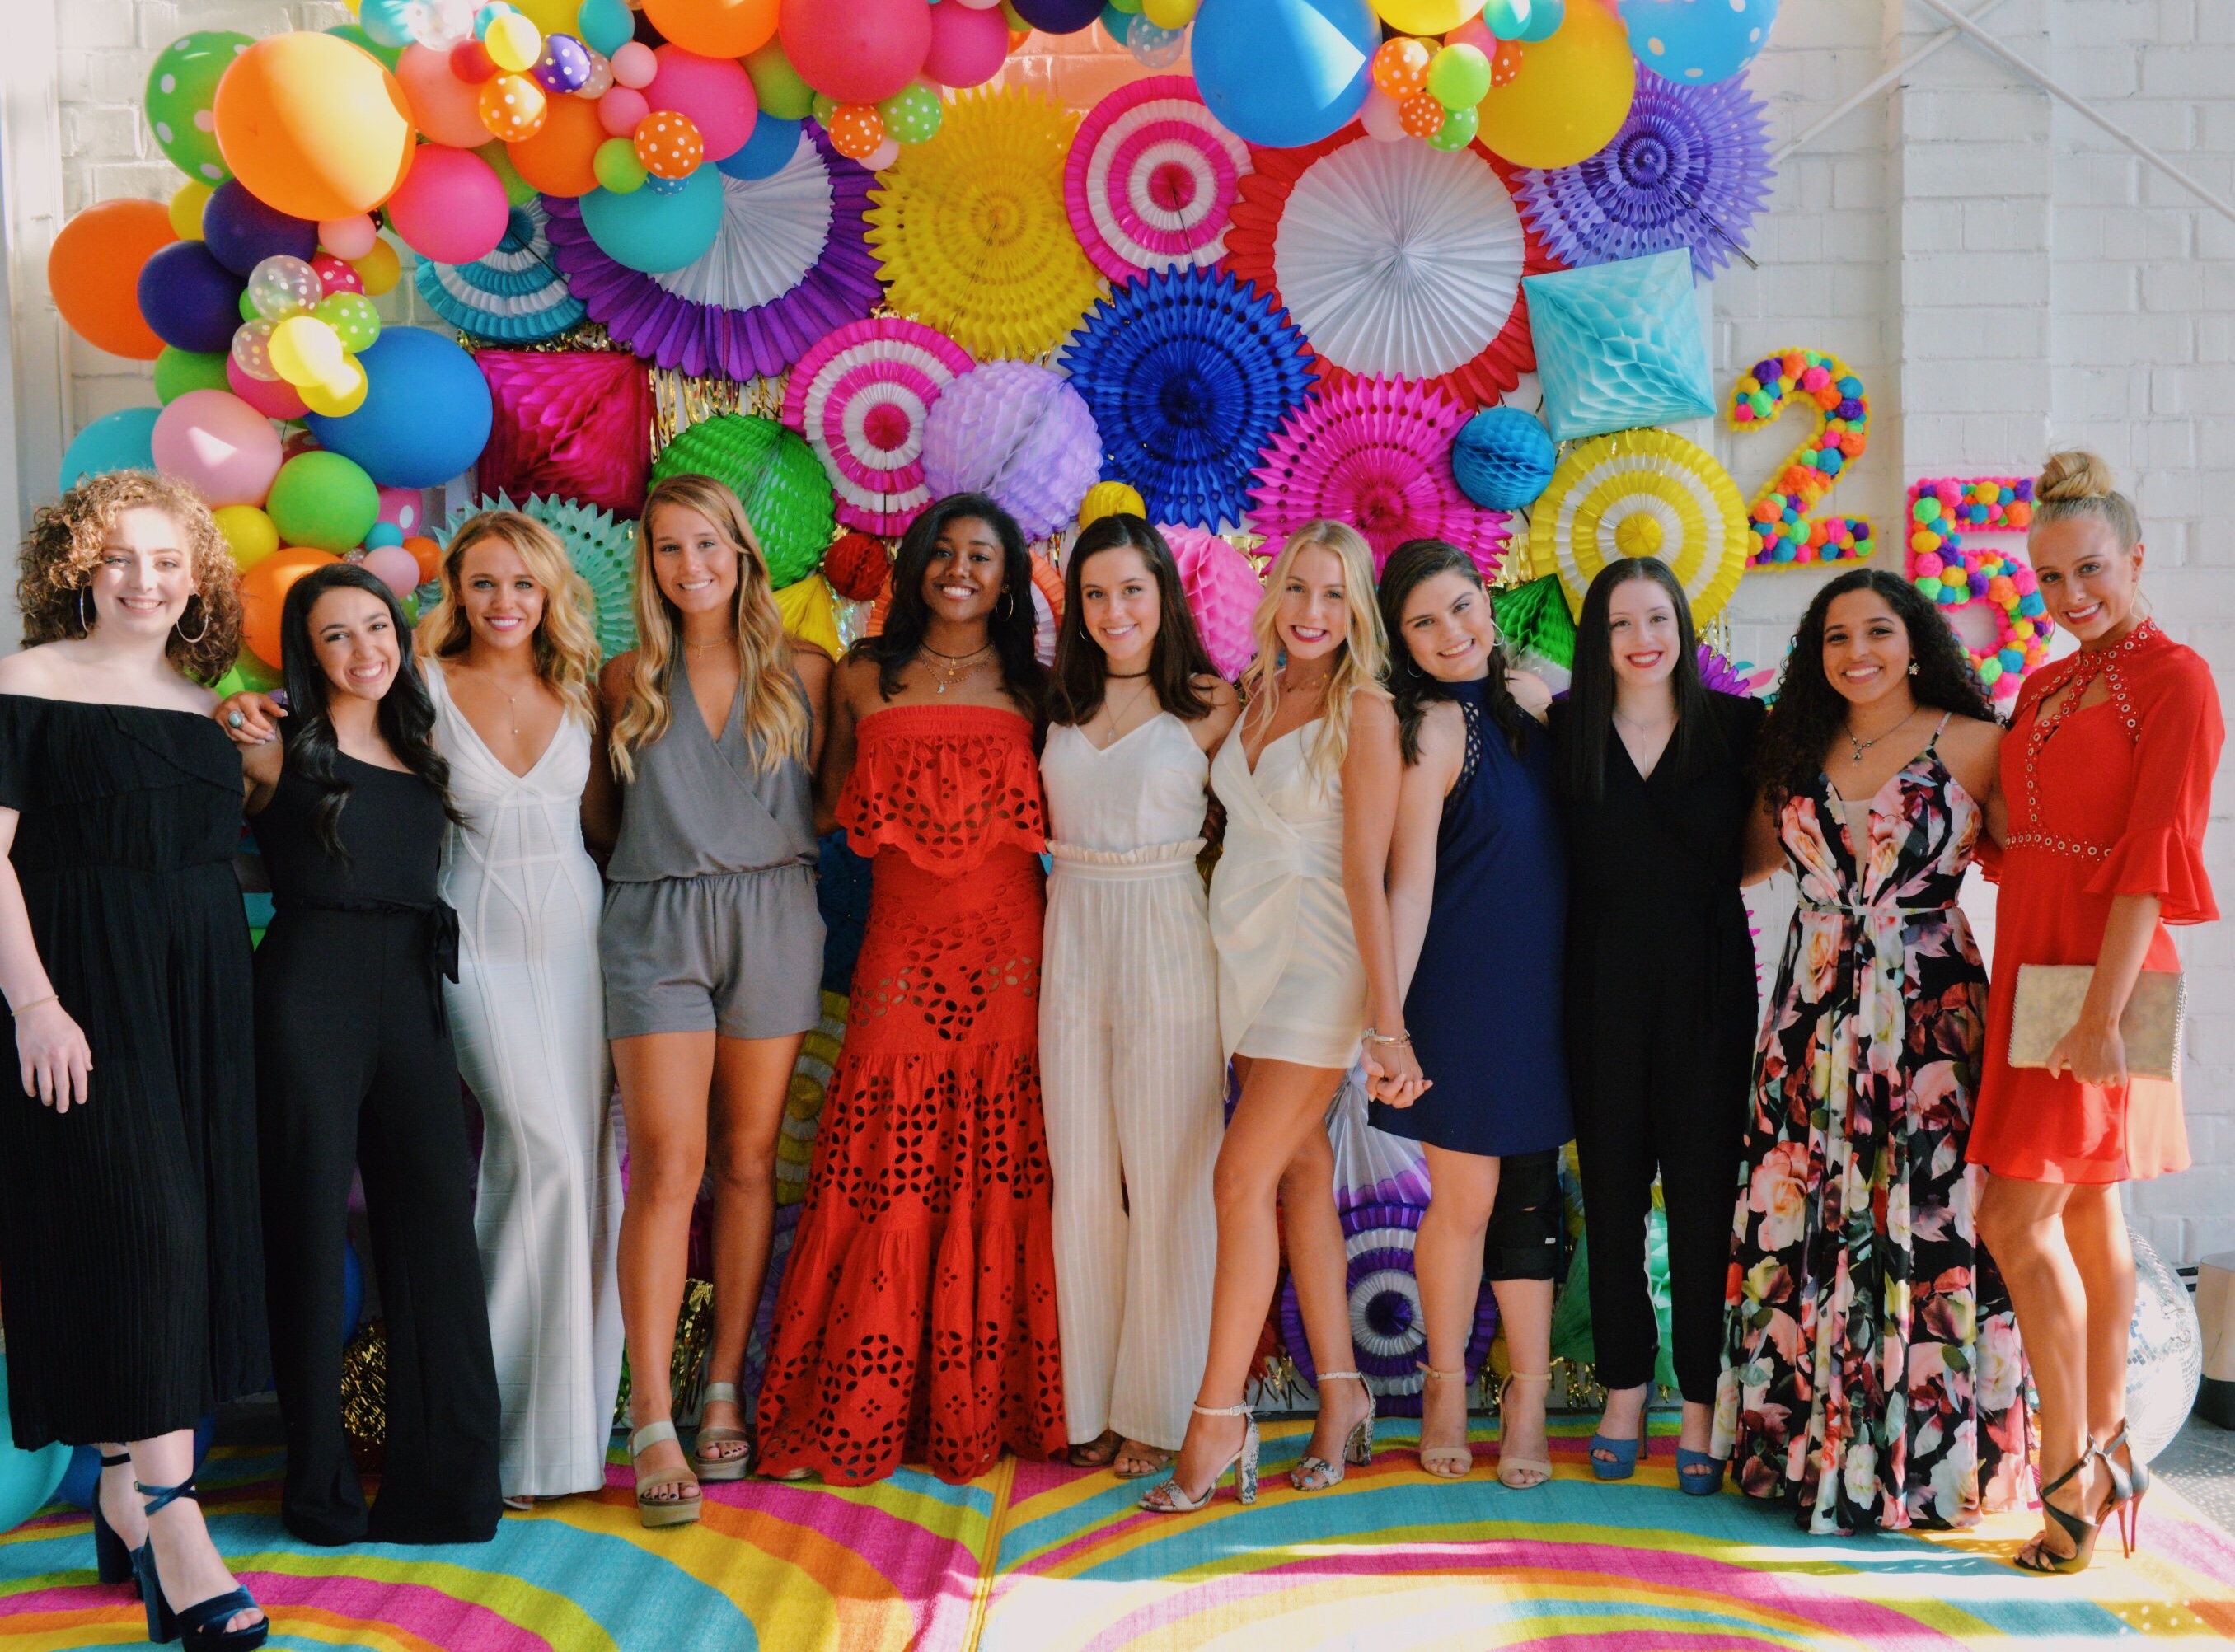
We’ve gotten so many positive comments and questions about the super fun + colorful honeycomb rainbow photo backdrop shown on the cover of the guide, so we knew we had to share how you can DIY your very own!

This simple DIY project makes a big, colorful impact, and there are so many ways you can use it (again and again!) – in your lobby, during summer camps, as photo backdrops at special events (back-to-dance week!). Take our word for it, your dancers will definitely want to take their photo in front of it and post their pics on social media, so give them a hashtag and let them promote your studio and/or event for you!

The Supplies
- Foam Core Board. We used two pieces of 4′ x 8′ foam core from an art supply store, but choose any size you want for your backdrop!
- Honeycomb tissue decorations in assorted shapes and bright colors like these and these from Oh Happy Day Party Shop. You can also find similar decorations at Target or Party City. We used approximately 35-40 decorations on our giant display, but some of them were really tiny, like these inexpensive 5-inch honeycomb balls.
- Metallic gold fringe like this door curtain from Party City
- Hot Glue Gun
- Duct Tape
The Process
First, secure the two pieces of foam core together with lots of duct tape! Next, place the backdrop flat on the ground and begin to arrange your honeycomb decorations in the design you want them to be, evenly distributing the colors and shapes across the display.
Keep in mind that, for the round, tear-drop, and diamond-shaped honeycombs, you will not be assembling them at the full 360º on this display. You’ll only be opening the honeycomb halfway, laying it flat and–once you’ve decided on the position of each one–hot-gluing it directly onto the board. For the flat, fan-shaped decorations, you will need to fully assemble those for the display. Tip: You want to layer them over each other!

You can see in this photo where we hadn’t opened and glued some of the honeycombs! This protected them during travel!
Once you are happy with the layout of the display, it’s time to start gluing and taping! You’ll find that glue works best on some and tape on others, so be prepared to alternate between the two and, in the words of Tim Gunn, make it work!
Cut pieces of the metallic gold fringe to fill in any white space and add a pop of glimmer to the backdrop. Once everything is dry, you are ready to put your backdrop to work!
Word of caution: this backdrop is fragile in that the tissue is delicate and can easily rip and tear. When not in use, store it in an area where it can have its own space (and away from kids!) to extend its lifespan!
We would LOVE to see your fun rainbow photo backdrop when you create it, so make sure you post some pics and tag us with #confetticolorfulsummer!
Enjoy!

#colorfulconfettisummer #makedancefun
1 Comment
Warning: Undefined array key 180 in /home/bbms01da7uba/domains/blog.confettionthedancefloor.com/html/wp-content/themes/html5blank-cotdf/functions.php on line 317
May 7, 2019 at 9:37 pm
Deborah Bowman says:
Very Cute! Thank you for sharing your ideas!!